Ticket Store / DigiTickets / Sell Ticket
We have three ticketing integrations:
- Ticket Store (Future Ticketing).
- DigiTicket Sales and Redemptions (DigiTickets).
- Sell Ticket (AudienceView).
Each integration provides:
- Seamless access to events and pricing (no need to create inventory items).
- Ticket printing straight from the till.
- Redemptions straight from the till using familiar Red/Amber/Green (works best with the Clover Flex or Mobile).
Use Case - Leigh Rockets FC
A local football club sells tickets for school tournament matches using paper tickets with signatures. They want a more professional way to sell the tickets. Ticket store allows them to print and sell tickets to fans at the gate and pre-book future matches. Fans with valid tickets who turn up on the day can be allowed in as exceptions if sales for the venue did not fill capacity.
Use Case - South Fairground Ltd
A fairground company on tour plans to set up business on a site across multiple days, for customers who walk by and future book tickets. They wanted to be able to easily track the revenue and tickets purchased and used. Ticket Store allows them to print a vast number of tickets quickly and efficiently along with providing a breakdown on revenue as Ticket Store integrates with Clover directly.
User Guide
The user guide below is for Ticket Store. Should you require more information on the Sell Ticket or DigiTicket Sales and Redemption apps, please get in touch with us.
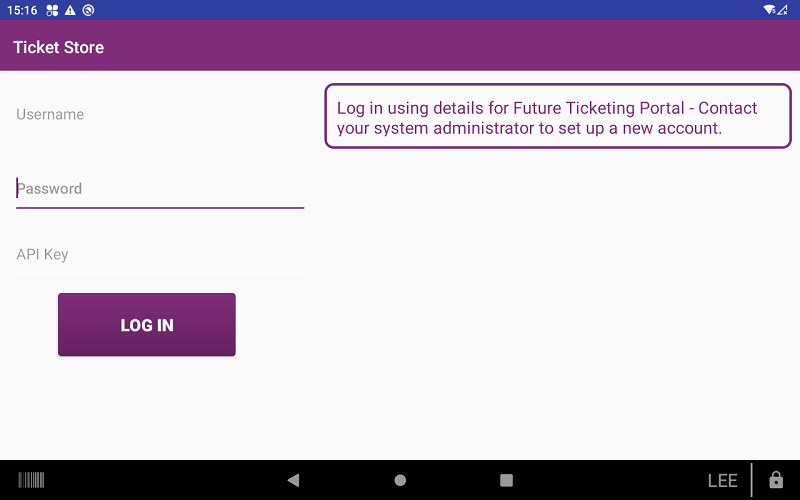
On first launch, you will need to login with your Future Ticketing user details. You can use the on-screen keyboard, an external keyboard or scan a QR code.
The QR code is generated using a free service such as qrserver. Obtain a token from the Future Ticketing dashboard (you may need to ask your system administrator) then use the following URL, replacing TOKEN with your token: https://api.qrserver.com/v1/create-qr-code/?size=400x400&data=TOKEN
On the login screen you can scan the QR code using an external reader or by selecting the barcode icon (bottom left) and using the built in Clover camera.
After logging in, your credentials will be saved and not needed when launching the app again. You are now presented with 3 options:
- Sell Tickets.
- Redeem Tickets.
- Collect Tickets.
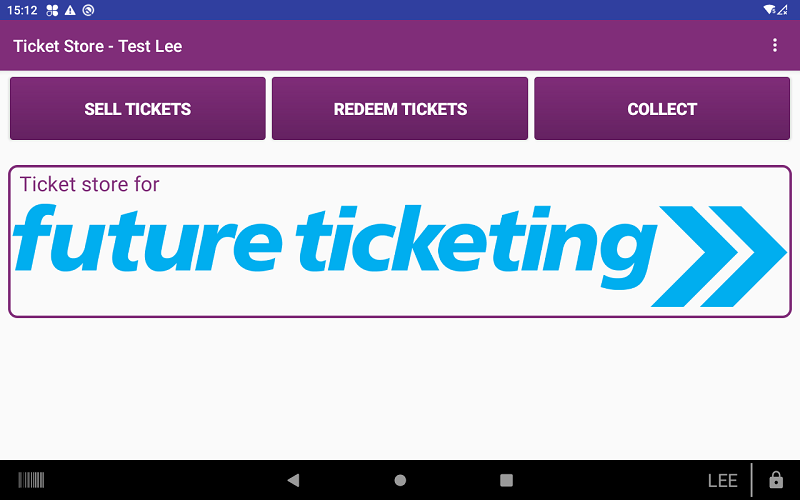
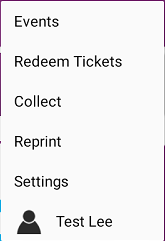
You can navigate to each screen quickly by touching the three dots in the top right hand corner of any screen. Alternatively, you can use the buttons at the bottom of the screen.
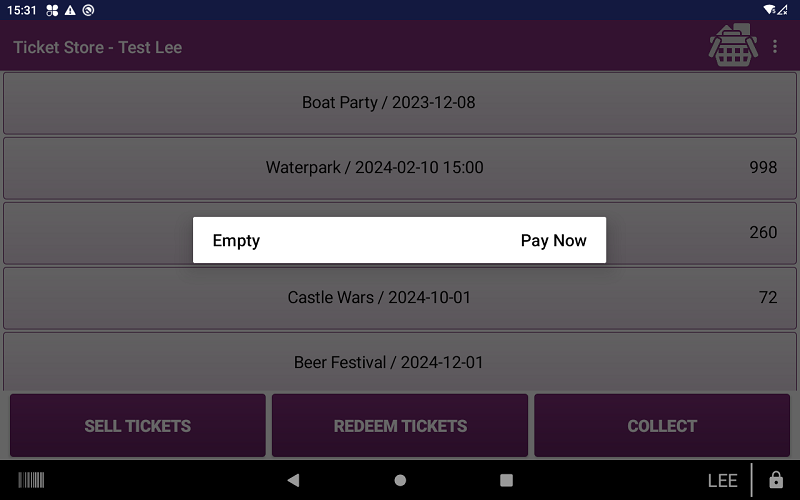
When first entering the sales section, you will be shown a list of events. The event date is shown next to the event and the number of available tickets on the right hand side (N/A indicates no capacity has been set).
Tap the desired event to see a list of available tickets.
Admins can lock the app to a single event to speed up sales (preventing the event list from being displayed, and automatically returning to the locked event after each sale).

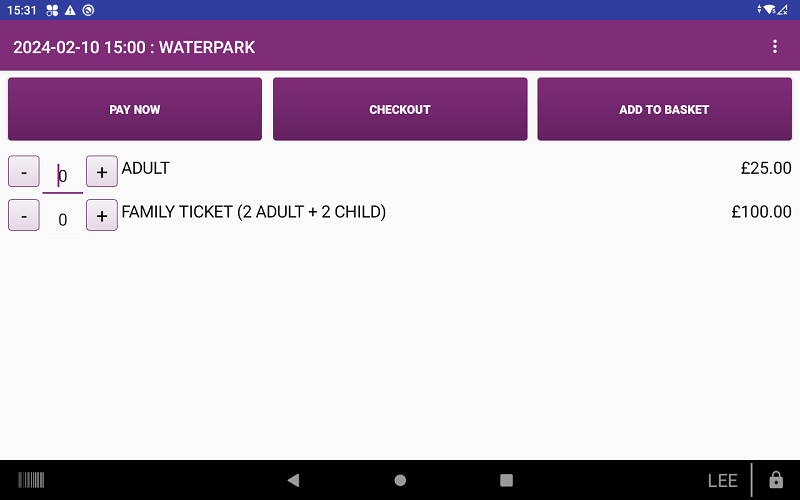
Use the + or - buttons to select the number of tickets you would like to purchase, then select one of the three buttons:
- Pay Now transfers the order to the Clover Payment screen for immediate payment.
- Checkout directs the order to the Clover Register allowing additional (non-ticket related) items to be purchased.
- Add To Basket adds the tickets to your basket and allows additional events/sessions to be ordered.
If you have tickets in the basket, you can checkout or empty the basket at any time by tapping the basket in the top right of any screen.
Here you can see the payment process:
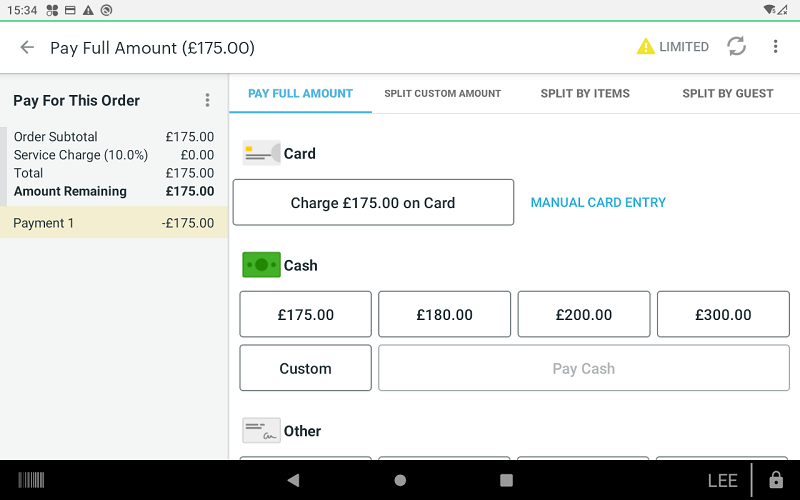
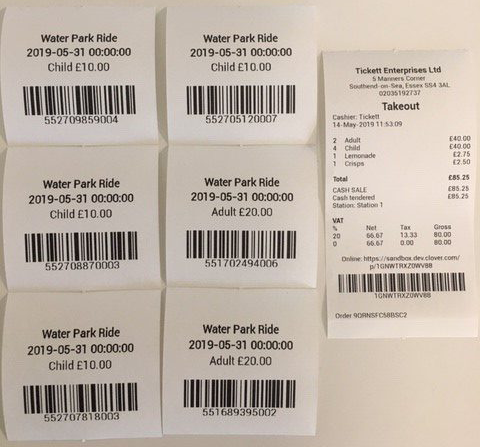
Once the payment has been made in full, the receipt and tickets are printed:
Orders created in Future Ticketing include the Clover order id in the payment result field for easy reconciliation. Similarly, the Clover orders hold the Future Ticketing order id in the note field.
Tickets can be redeemed by:
- Entering the barcode using a physical or on-screen keyboard.
- Using Clover’s built-in camera/barcode scanner.
- Using an external barcode scanner.
- Using an NFC/RFID tag/device.

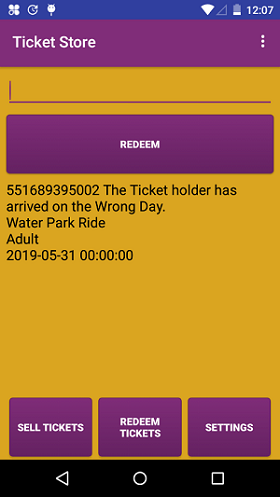
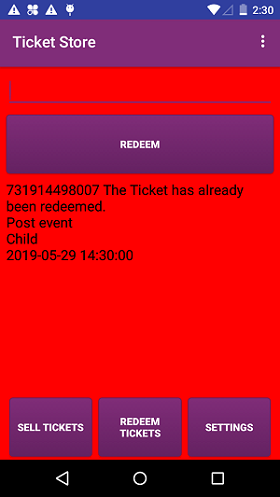
Details about the scanned ticket will be shown on this screen, and the screen will change colour to indicate the ticket’s validity.
- Green indicates the ticket has been successfully redeemed.
- Amber indicates the ticket is valid however redemption requires discretion (for example, wrong day).
- Red indicates the ticket is invalid, as it may have already been redeemed or is not recognised.
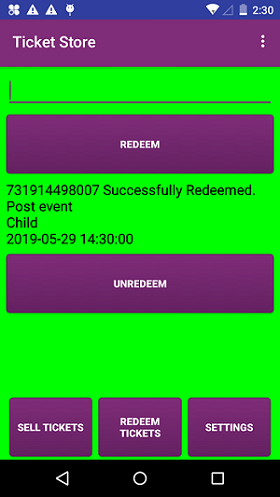
Immediately after a successful redemption, the unredeem button appears. This will allow you to undo the redemption so the ticket can be re-used.
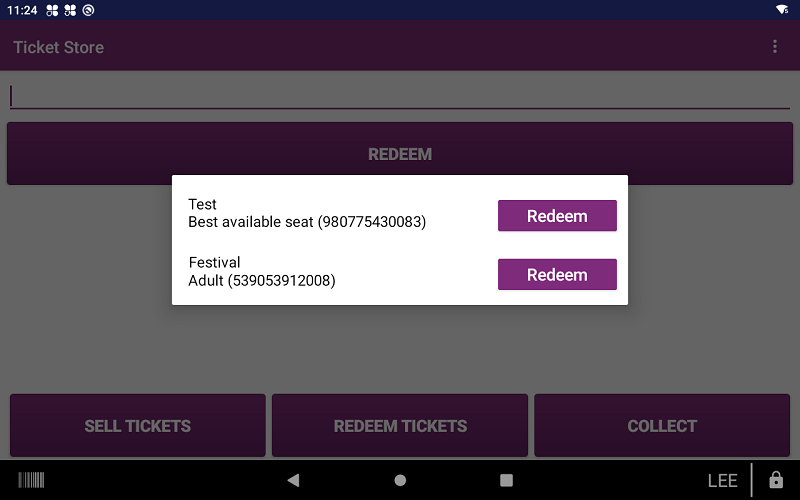
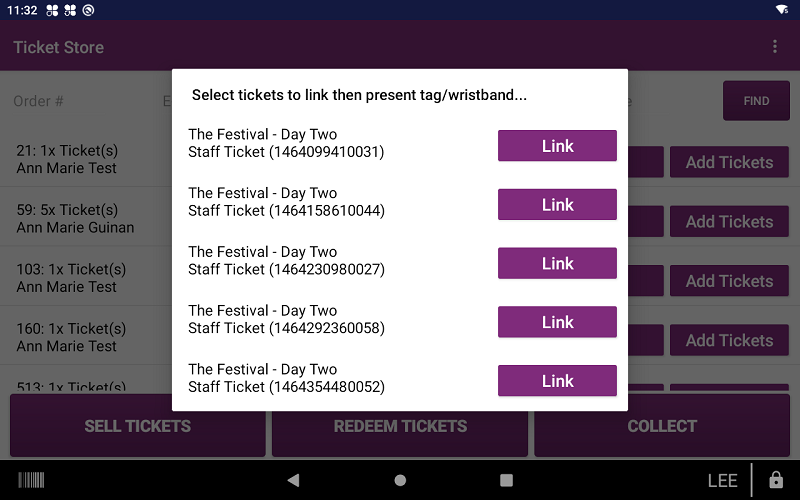
NFC tags can be associated with multiple tickets, so after presenting a tag, a list of available tickets will be displayed.
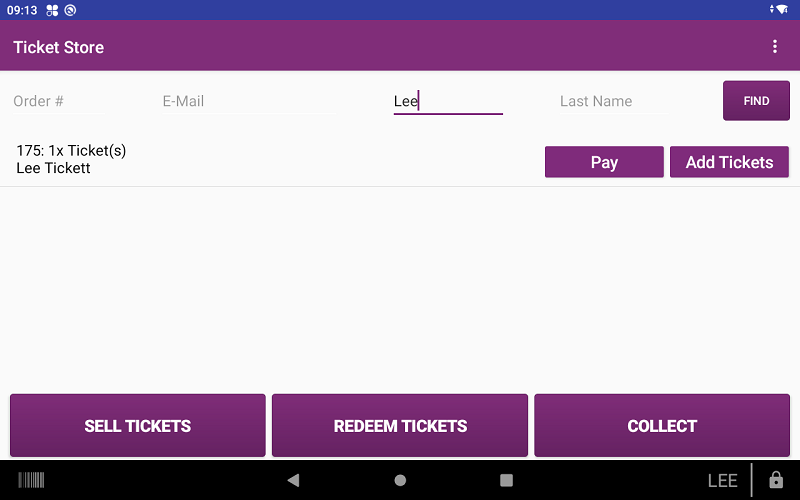
Tickets can be collected/reprinted from the collect screen. Search using either Order Number, E-mail, First Name or Last Name.
Paid orders will show the Print and Add Tickets options.
Orders set to Pay on Arrival will show the Pay and Add Tickets options. Once paid, the tickets will be printed and can subsequently be reprinted.
Selecting an order will show the ticket details, at which point selecting link and presenting an NFC/RFID tag will associate the two.
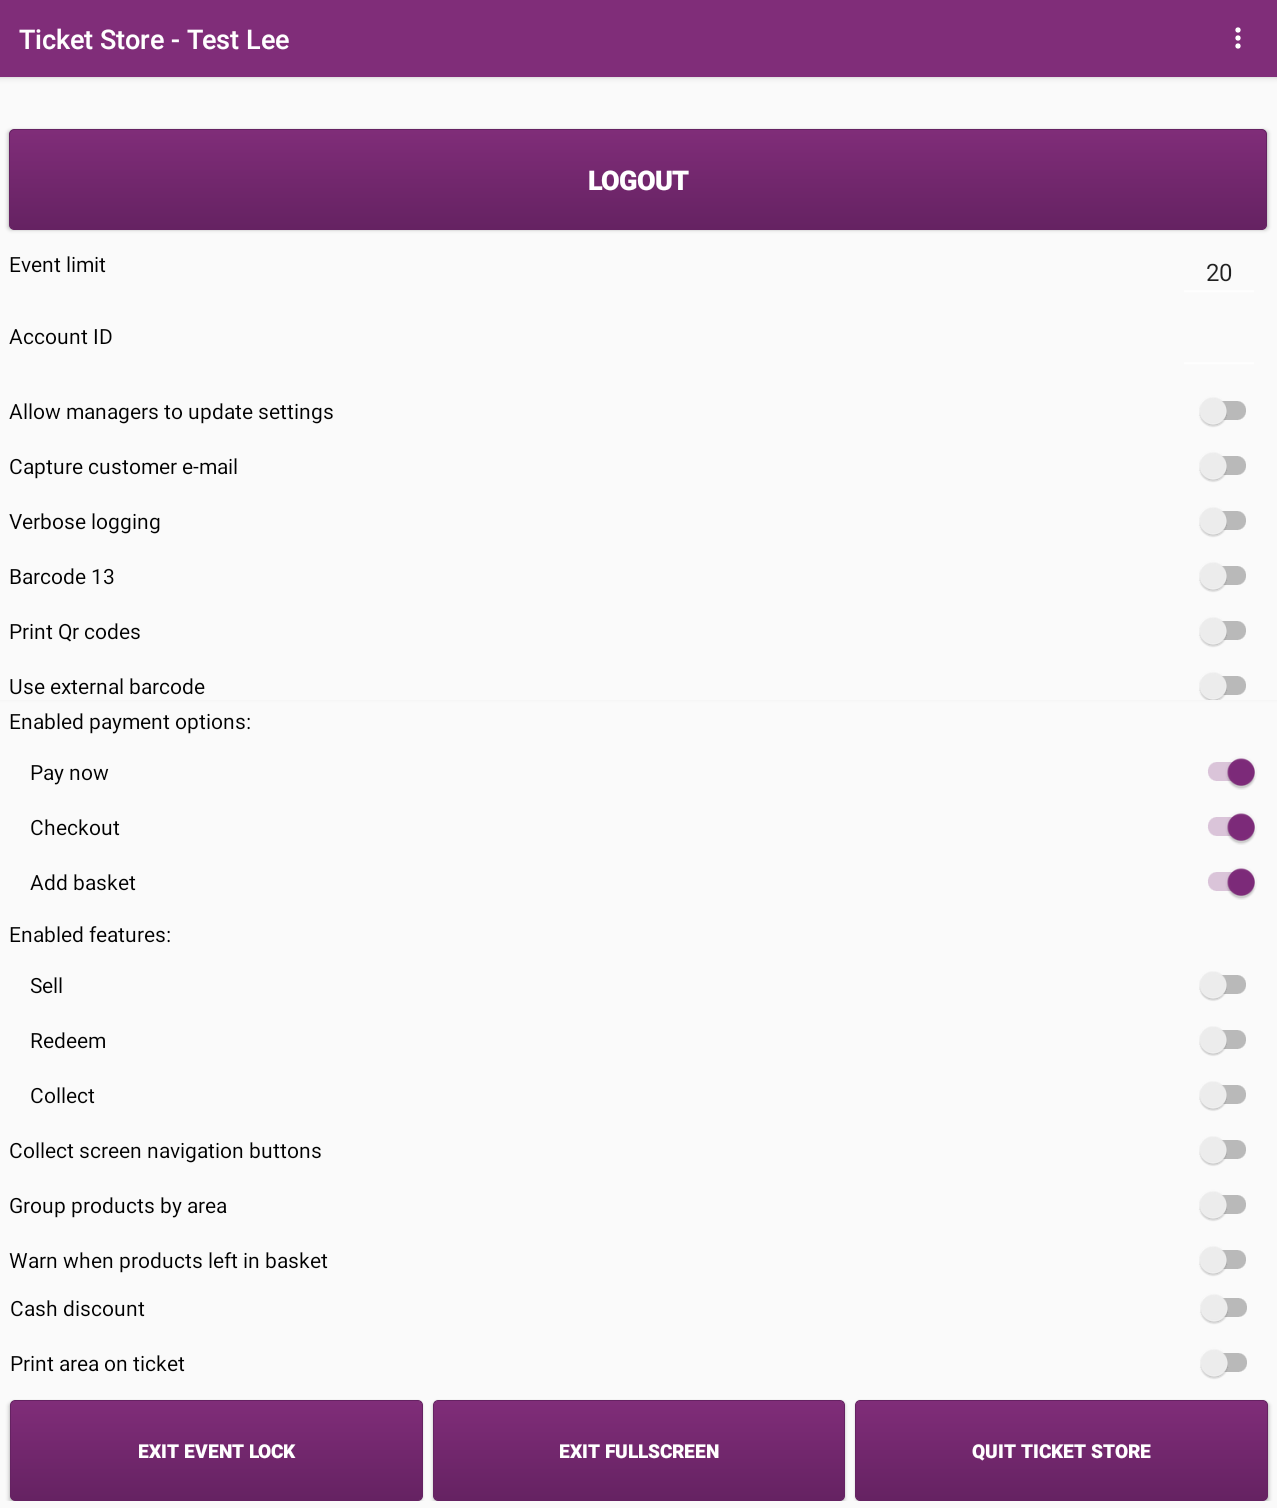
Only admins can access the settings screen.
The settings page allows you to:
- Logout of Ticket Store.
- Limit the number of events displayed.
- Configure a customer account to be attached to all orders (this can assist in easily identifying orders which originated from Clover).
- Enable the capture of customer e-mails during order processing.
- Enable verbose logging (in the event you are having issues with the app).
- Toggle between 12 and 13 digit barcodes.
- Enable printing QR codes.
- Use barcodes from an external system.
- Enable payment option buttons (Pay Now, Checkout, and Add To Basket).
- Enable features (Sell, Redeem, and Collect).
- Enable collect screen buttons.
- Enable grouping of products by area.
- Enable basket item warning.
- Enable cash discount (discount configured in Future Ticketing dashboard).
- Enable printing area on ticket.
- Exit event lock (to enable access to the full events list).
- Exit full-screen mode (only used for testing).
- Quit (only used for testing).
Roadmap / Future Plans
There are currently no future additions planned for these. Please reach out if there are any features you would like to see added.